Using a CDN is the easiest way to speed up static asset loading for users from different countries. AWS Cloudfront is one of the renowned names in the CDN market. Cloudfront has 216 PoPs (Point of presence) throughout the world. You can use Cloudfront with your WordPress site for better performance. One thing to note in this tutorial we will only use the CloudFront to deliver static assets only. (This is not a full side caching tutorial) Let’s check out the step-by-step process of how to it.
You can use the CloudFront subdomain for delivering assets but if you want to use Cloudfront with your sub-domain name like cdn.example.com then you need to create an SSL certificate for that. Now using a sub-domain for CDN is optional but it is considered safe practice for SEO purposes and also it looks kinda professional.
Creating SSL Certificate For Sub-Domain
This section is only for those people who want to use a sub-domain for their CDN. If you don’t want to use a sub-domain then you can skip these steps, so go to Create Cloudfront CDN section below of this article.
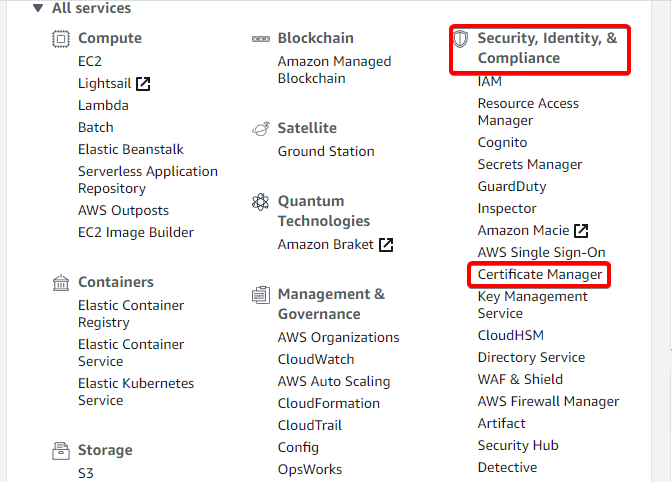
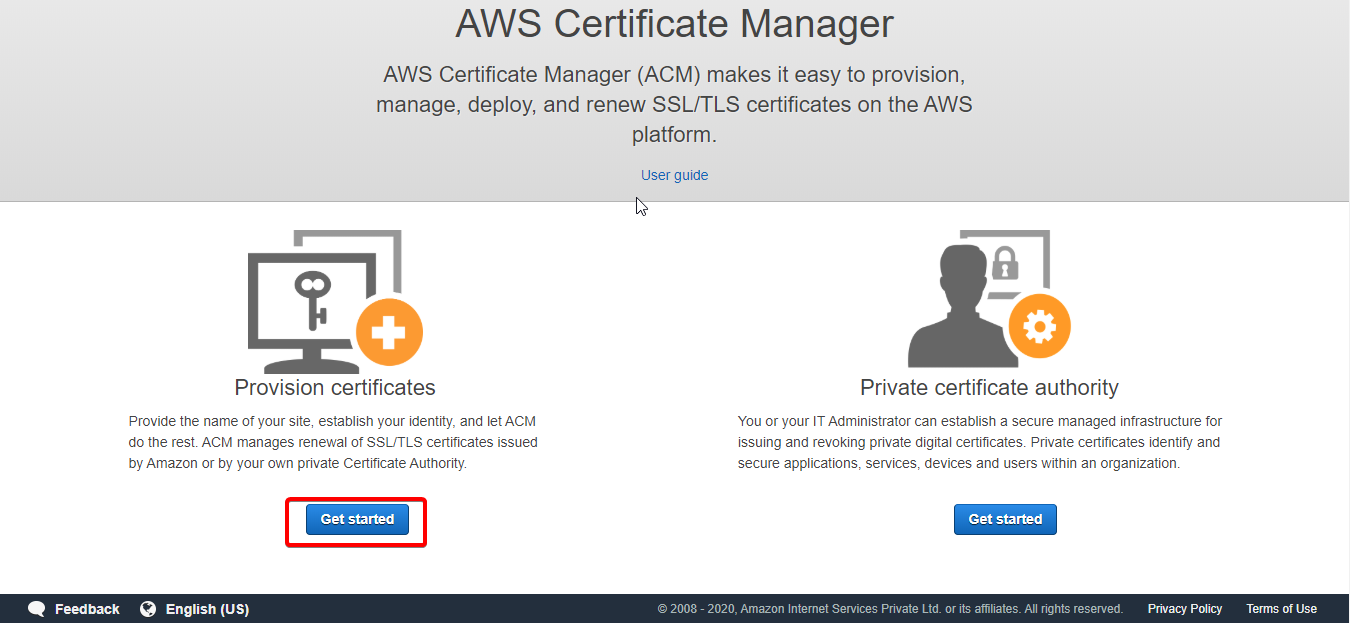
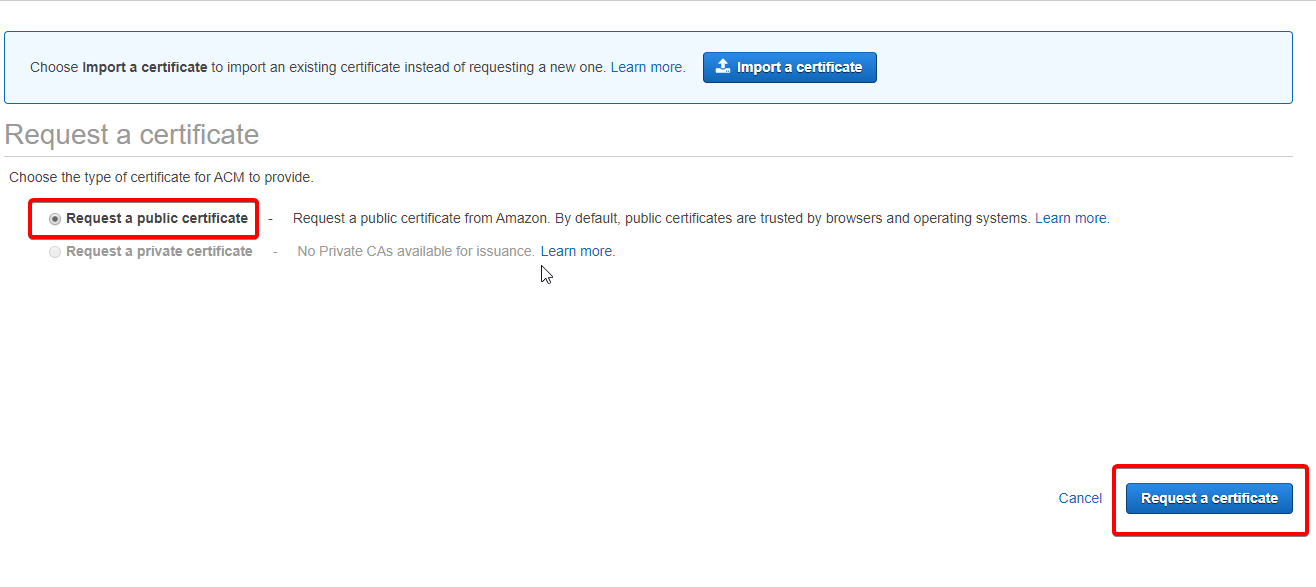
Step 1: We will use ACM or AWS Certificate Manager to create an SSL certificate for our domain. In order to do that signed in to your AWS console. Then choose the Certificate Manager from the services section or search ‘ACM’ from the search button. Enter it and then click on the Get Started button in the Provision certificates section. Then choose Request a public certificate and click on Request a Certificate. We will create a Wildcard certificate so that you can use it with any sub-domain you want.
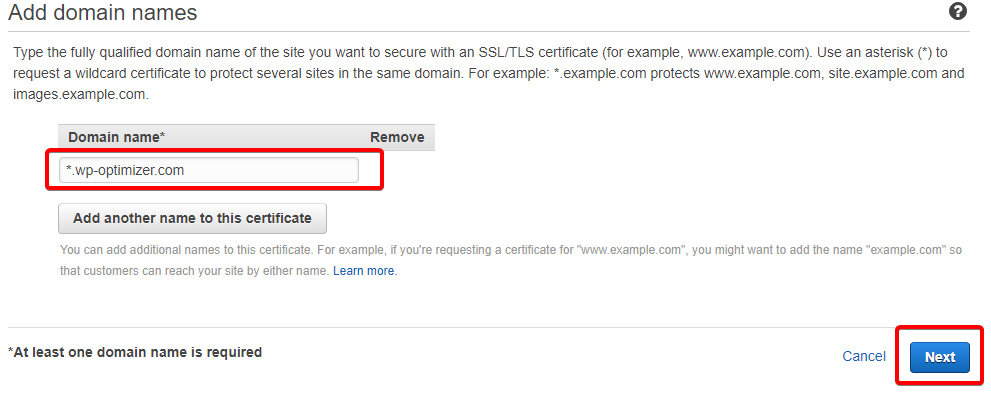
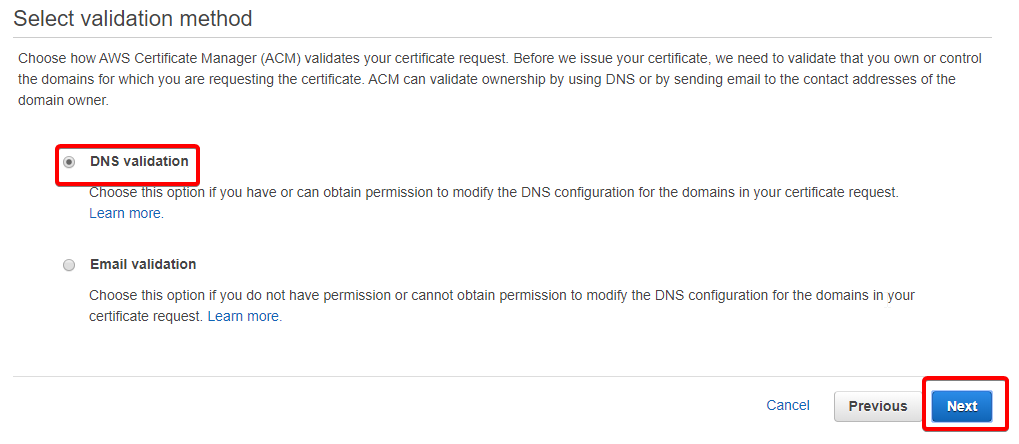
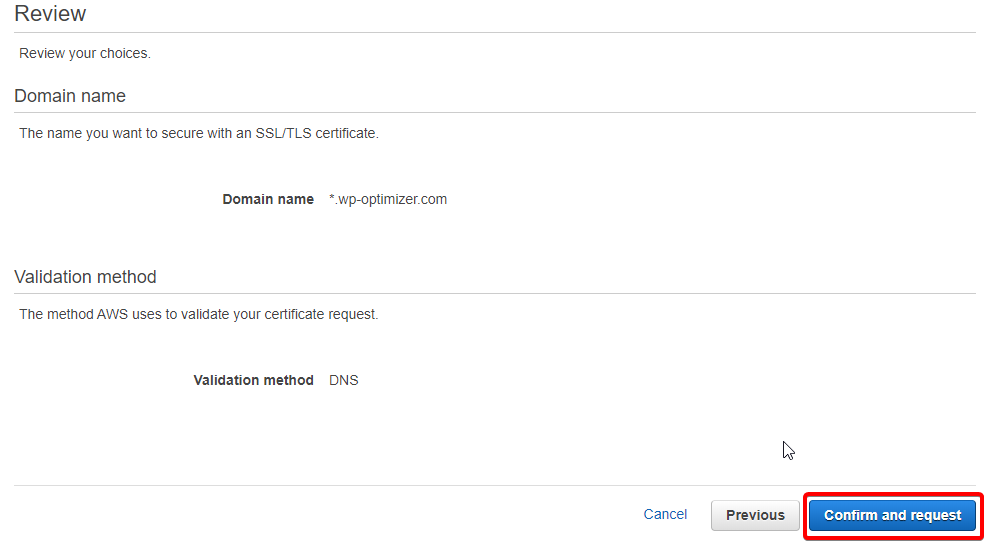
Step 2: Now type the domain name in the Domain Name section. We will type *.example.com in the Domain Name section. Then click on the Next button. Now choose DNS validation and click on Next. Now you can add tags if you want. This may help you to sort certificates in the future but I’m gonna skip this step so click on the Review button. Then review to see if you have done it properly and then on Confirm and Request button. It should take you to the validation page.
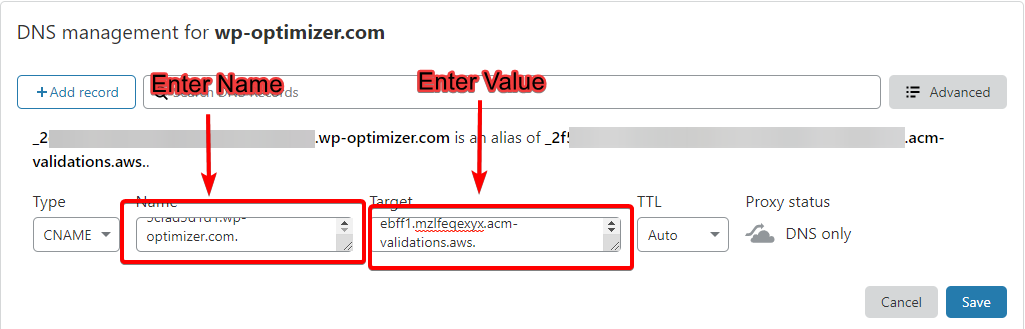
Step 3: Now you need to add some records in your DNS settings to verify your domain. In Your DNS settings page create a CNAME recording using the name and value provided in the AWS validation page. Now there are many DNS service providers and each service provider looks different but the step should be almost the same for each provider. Now I can’t show how to do it for each provider so I will attach an image below where I do it in the Cloudflare.
After you add the DNS record come back to AWS and click on the Continue button. You may have to wait a minute or two and the status should change from Pending validation to Issued. And that’s it now we will create the CDN for our website.
Create Cloudfront CDN
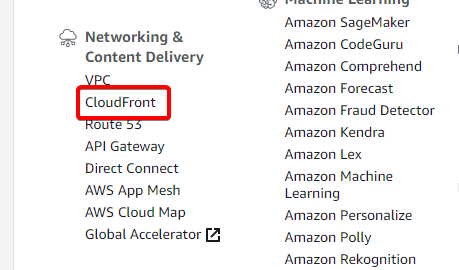
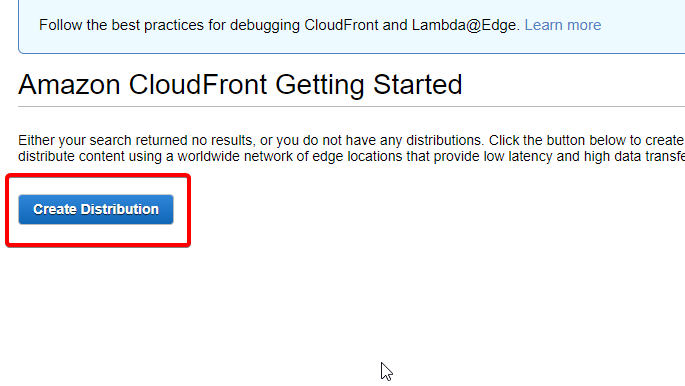
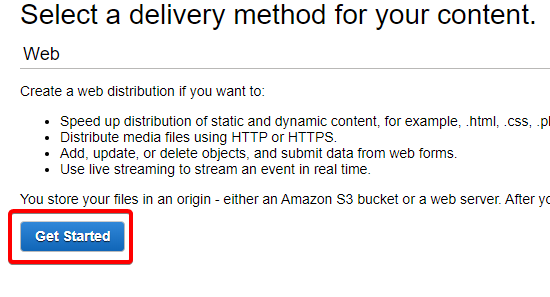
From your AWS Console home choose Cloudrfront from the networking section or search for it in the search area and then choose it. Then click on Create Distribution. Then click on the Get Started button in the Web section. This takes you to the configuration page.
Configuring Cloudfront CDN
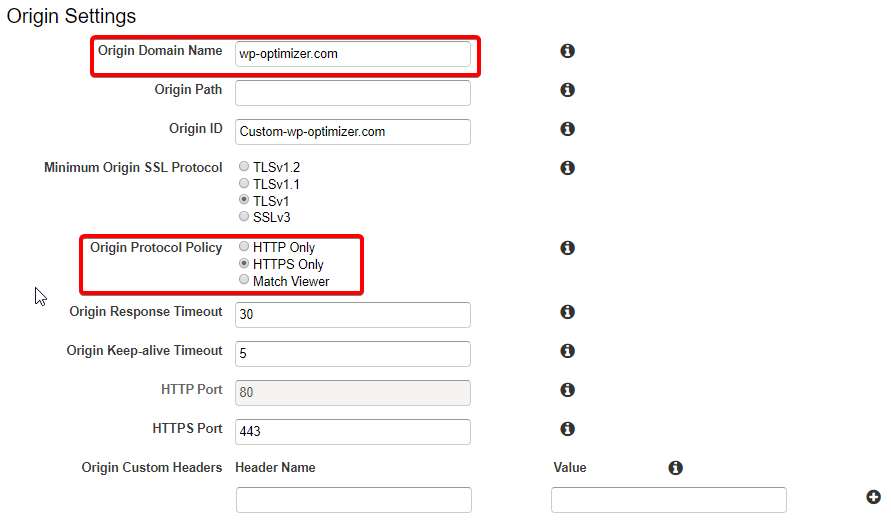
Step 1: In the Origin Settings section put your domain name in the Origin Domain Name box without HTTP or HTTPS. Select the Origin Protocol Policy either HTTP or HTTPS. Now if you choose HTTPS then the connection between your web server and Cloudfrond will be secure which desirable. But you need to have an SSL certificate installed with your domain otherwise it will give you an error. If you don’t have an SSL certificate installed then you should choose HTTP. Leave every other setting in the Origin Settings section as default.
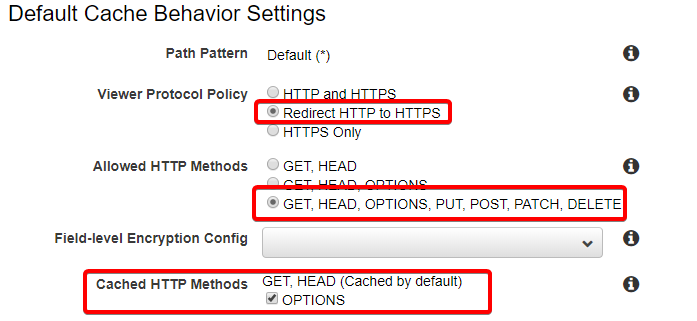
Step 2: In the Default Cache Behavior Settings section choose Redirect HTTP to HTTPS from the Viewer Protocol Policy. In Allowed HTTP Methods, as WordPress makes use of forms, which require a POST, You should choose to enable all HTTP methods. In the Cached HTTP Methods, enable Options requests which can speed CORS requests.
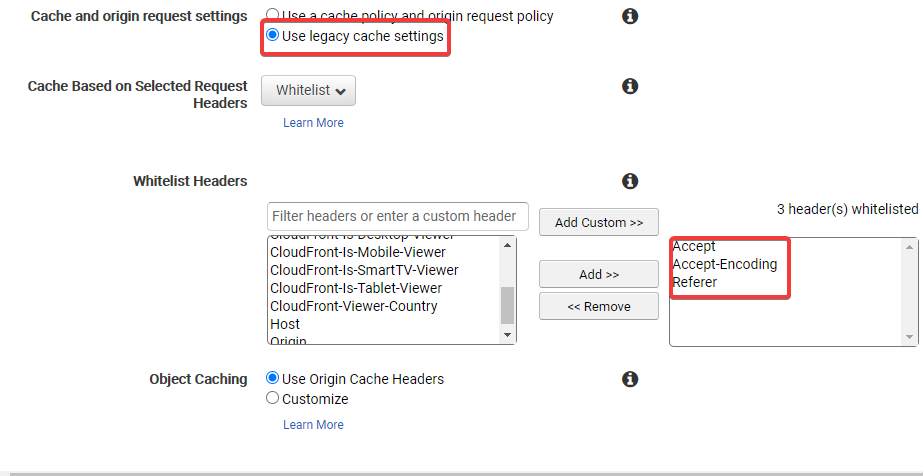
In Cache and origin request settings section select Use legacy cache settings. Then from the Cache Based on Selected Request Headers choose Whitelist. Now in the Whitelist Headers section, we will add Accept-Encoding and Referrer header as Whitelist. If you are planning to use content negotiation then you also need to Whitelist Accept header. One such example of using content negotiation is serving WebP images. From the Object Caching choose Use Origin Cache Headers. If you have a caching plugin installed then that Caching plugin is adding Cache headers. Otherwise, you can customize it as you want.
From Query String Forwarding and Caching choose Forward all, cache based on all. Choose Yes in Compress Objects Automatically section and leave everything else as default.
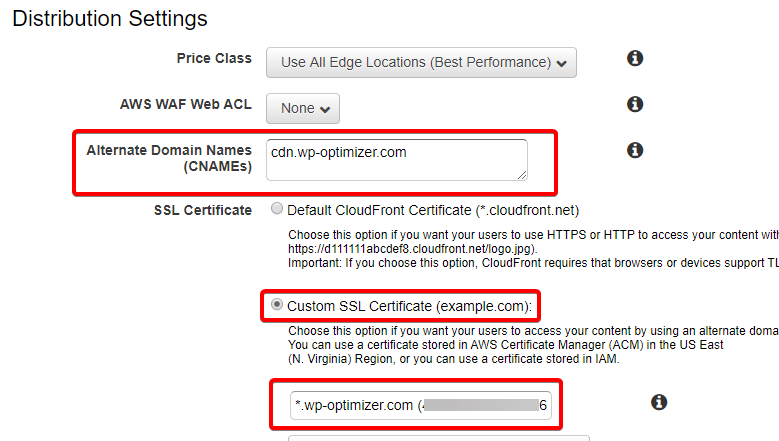
Step 4: Now if you are not planning to use a custom CNAME or sub-domain for your CDN distribution then you can skip this part. In the Distribution Settings section put your custom CNAME or sub-domain, for example, cdn.example.com in the Alternate Domain Names (CNAMEs) domain name box. Then choose Custom SSL Certificate and select the SSL certificate we created earlier from the drop-down menu. That’s it, leave everything else in this section by default.
Last Step: Now as every setting is tuned properly, go ahead and click on Create Distribution. Now it may take a while. After successful creation, the status should change to Deployed.
Setting Up DNS
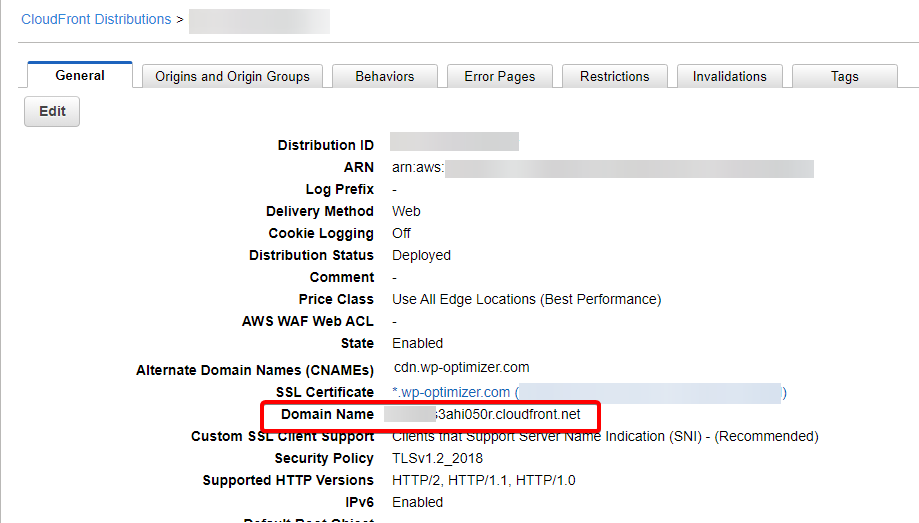
Now if you have not configured the CDN to use a custom CNAME or sub-domain then this step is not needed for you. Now click on the id of your CDN distribution after the successful deployment. It will take you to a page where we will find a Domain Name that should look something like ‘s45sdf45sf8756.cloudfront.net’. Copy it and then go to the DNS settings page and create a CNAME recording pointing your custom CNAME or sub-domain to the CloudFront CDN domain name.
Integrating CloudFront CDN With WordPress Website
Integrating Cloudfront with your WordPress website is a straightforward process. If you are using the Caching plugin then it should have the option to integrate CDN. If you don’t have a caching plugin then you can install one like Autoptimize. In my case, I use WP Rocket which is a popular premium Caching Plugin. In the WP Rocket settings page go to the CDN tab and click on the Enable CDN. Now if you have configured CDN to use a custom CNAME like cdn.example.com then put that in the CDN CNAME(s) box otherwise put the Cloudfront Domain name which looks something like s45sdf45sf8756.cloudfront.net. Now save the settings.
That’s it you have successfully configured and integrated Cloudfront CDN with your WordPress Site. If you have any questions or if you got stuck at any point just comment below I will reply to you back with an answer.